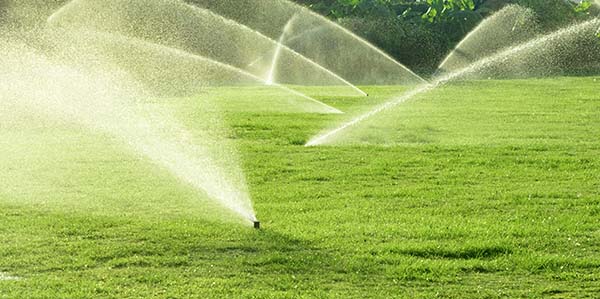
This is a general guide for creating your sprinkler system diagrams. The following guidelines are the same for almost any irrigation system and will help you get started with your new sprinkler system.
Creating Sprinkler System Diagrams
Step1: Collect Information
When designing your sprinkler system diagrams, the first decision you need to make is if you want a manual or automatic sprinkler system. The process for these types of systems is the same, except system controller, automatic valves and wire are necessary for designing and operating an automatic sprinkler system.
One of the questions you need to answer, do you have city water. If you do have city water, then you need to contact your local water department to determine if you need a pressure gauge or garden valve output.
The next step when designing your sprinkler system , you will need to check your water meter and contact your local water department to determine the gallons per minute you will need to run your system.
How to calculate gallons per minute (GPM). Divide the container size (in gallons) by the seconds it takes to fill the container and multiply it by 60. Here is an example; if it takes 30 seconds to fill a 5-gallon container, then you have 10 GPM available for your sprinkler system.
It’s very important when designing your sprinkler system that you contact your city hall. You will need to research the local codes and building permit regulations before you start the work. It’s very possible that your will have to pay a fee and submit your sprinkler system diagrams to obtain a building permit.
Step 2: Create a Layout
Programs such as CAD Pro can provide the necessary design tools for creating your diagrams on a Windows computer. These types of software programs will help you create an accurate grid as well as the ability to draw your diagrams to scale.
It will be important that you include the location of your house, driveways, walkways, sidewalks, fences, outside buildings, patios, planters, trees, and shrubbery. This information will be necessary when creating your sprinkler system layout. Be sure that you indicate the water supply locations.
Step 3: Choose the Necessary Materials
It’s a good idea to create a materials guide to assist you when creating and installing your sprinkler system. Your materials guide needs to contain the type of sprinkler heads and the gallons per minute (GPM). Design your water pattern for the type of sprinkler heads you choose and the necessary spacing of the sprinkler heads.
When creating your sprinkler system diagrams you will need to determine the size of your water supply line. The supply line is the piping from your water source (water meter) or well. Be sure to determine the type of pipe you will use. It’s recommended that you use Schedule 40 PVC for the supply valves. PVC is very common and easy to purchase, it’s also semi-ridged and comes in 20’ lengths with glue type joints. You can also choose Poly-pipe which is a flexible hose type pipe, it comes in 100’ or larger coils/spools.
Now you will need to determine the size, number, type, and location of your valves. This information can be easily determined by visiting your local sprinkler system supply company. It’s important to remember that valve sizes are determined by the size of your water meter and the size of your service line. Be sure that your valve sizes do not exceed your service line size.
Step 4: Install Your Sprinkler System
Group your sprinklers and graph your piping. A sprinkler group is the number of sprinkler heads adjacent to each other and they are connected to the same control valve.
Determine the number of circuits you will need and the maximum GPM flow that will be drawn from the circuit. Flow rate depends on 3 factors: service line size, static water pressure, and the type of sprinkler heads.
Set the controls for your sprinkler system diagram. Layout your system piping from the service line (water source) to connect with the first set of valves, then from the first set of valves to the second set, etc. and from the valves to the sprinkler heads.
Important: Use as many straight runs of pipe as possible, avoid turns which will result in loss of pressure. Be sure to avoid from going under sidewalks and driveways if possible. Now setup your control valves and position sprinkler heads. You will need to flush the entire sprinkler system.
Cad Pro is an affordable and easy alternative to other more expensive design software programs. Cad Pro is great for creating kitchen design plans, innovative smart home designs, custom home plans, building plans, office plans, construction details, deck plans and much more.
CAD Pro allows anyone to share their ideas and plans with clients, colleagues or professional contractors using Dropbox®, Google Drive™, OneDrive®, and SharePoint®. Export files to Microsoft Word®, Excel®, and PowerPoint® with a single click.
CAD Pro has helped thousands of homeowners, professional designers, builders and contractors plan and design all types of sprinkler system diagrams. CAD Pro is used by NARI professional remodelers and contractors and the NRCA roofing contractors. CAD Pro is also used by NHBA home builders and contractors, the National Kitchen & Bath Association (NKBA). as well as the (NALP) National Association of Landscape Professionals.
Best Smart Home Products

